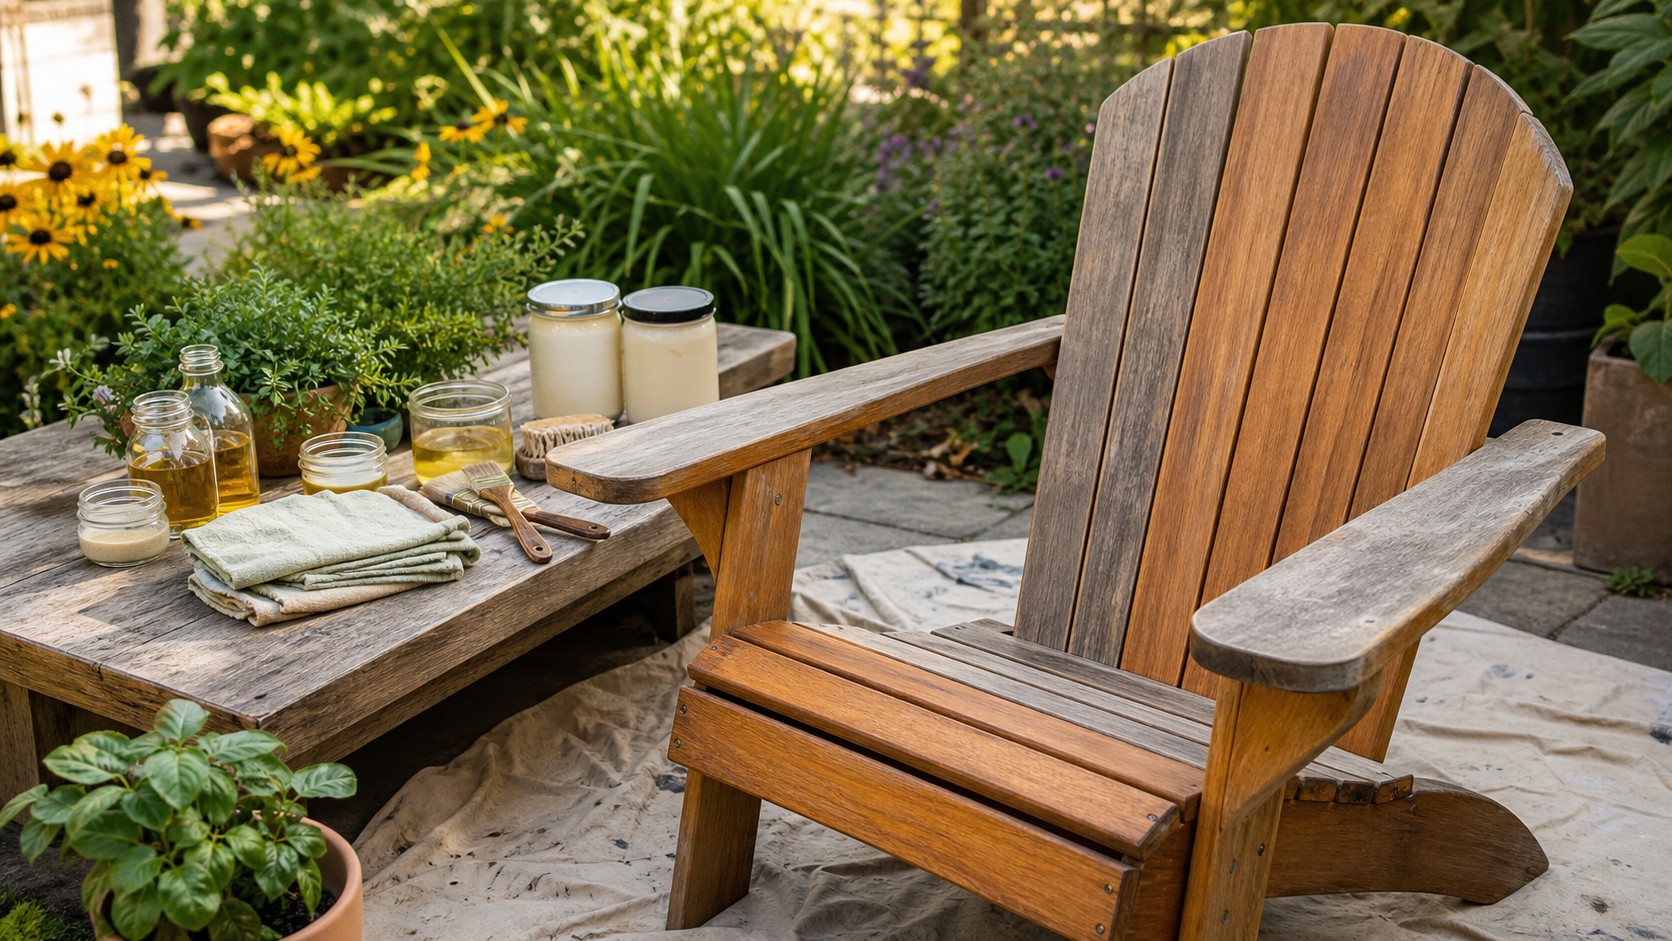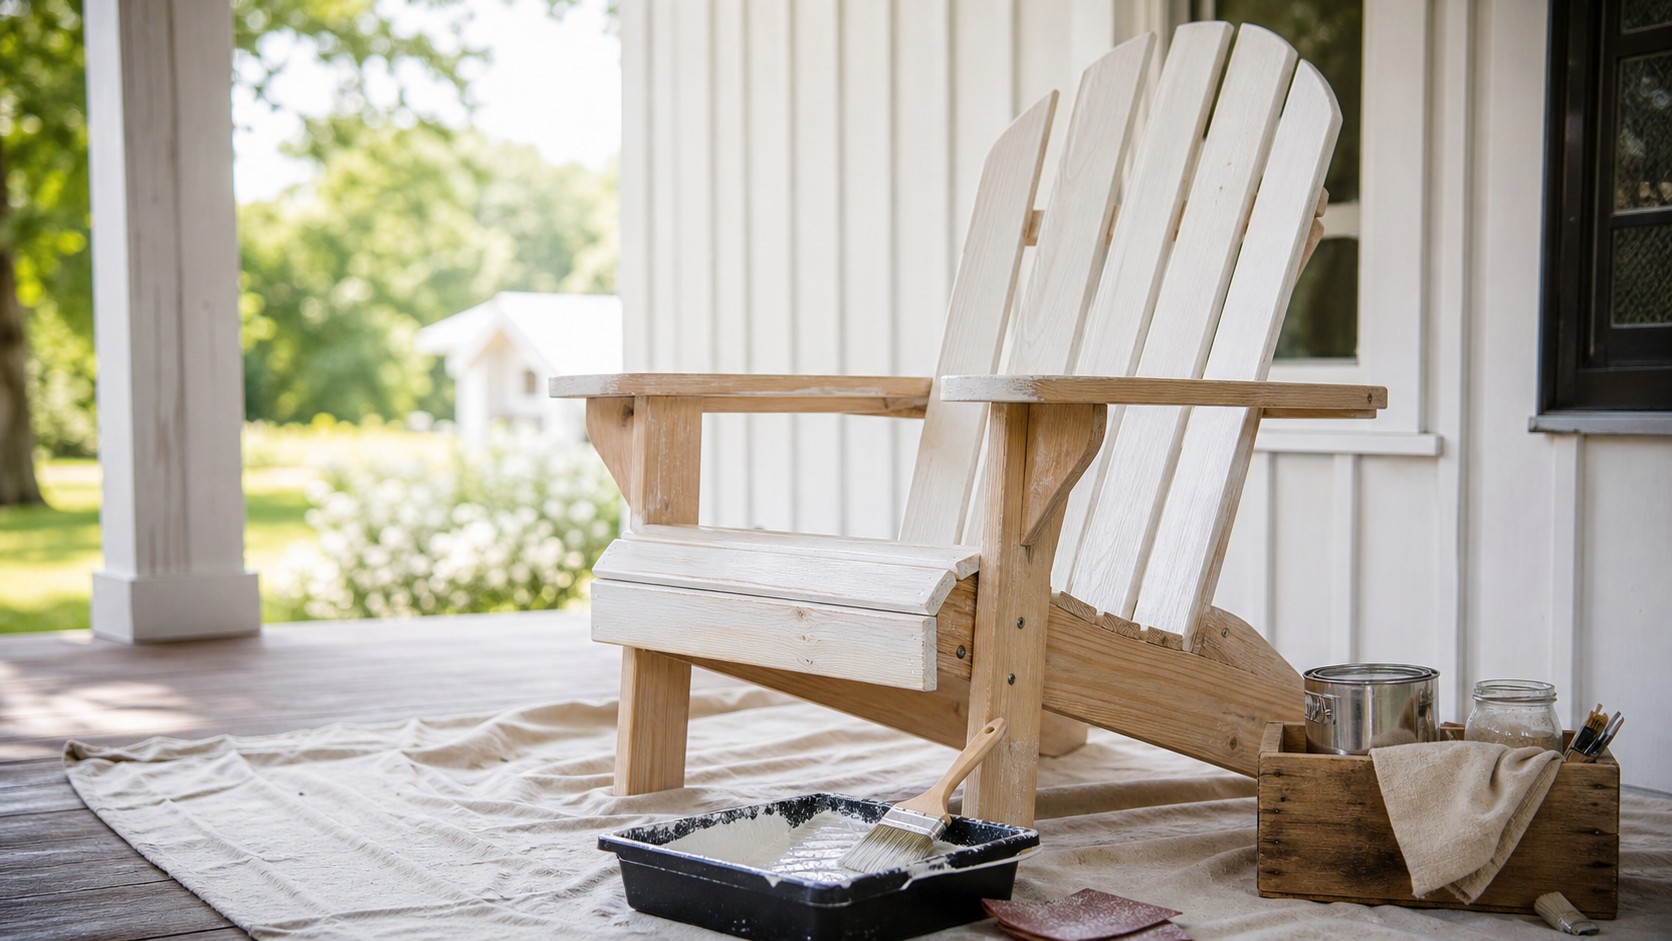
Farmhouse white Adirondack chairs have a calm, welcoming look that feels equally at home beside a garden path, on a wraparound porch, or around a casual backyard fire pit. The style is simple, but the result depends on disciplined refinishing. White paint reveals rough sanding, trapped dirt, uneven primer, and brush marks more quickly than darker finishes, so the best projects begin with patient surface preparation. Refinishing an Adirondack chair in farmhouse white is not just a color change. It is a reset for the wood, a chance to correct weathering, tighten joints, soften worn edges, and build a finish that can handle sun, rain, pollen, and everyday outdoor use.
A: Only failing paint must come off completely; sound paint can usually be cleaned, scuff sanded, primed, and repainted.
A: Choose a warm white for rustic porches and a cooler white for modern gray or black outdoor settings.
A: Yes, but brushing is often easier for slats, edges, and small touch-ups on a single chair.
A: Only use it with the right exterior protection; many standard chalk paints are not durable enough alone.
A: One primer coat and two thin paint coats usually create a cleaner result than one heavy coat.
A: Some clear coats can yellow white finishes, so test a non-yellowing exterior product before using it.
A: Yes, if the stain is clean, dry, dull, and sealed with a compatible primer.
A: Use quality paint, avoid overworking it, and keep coats thin with light sanding between layers.
A: Wait until the paint has cured enough for pressure and friction, not merely until it feels dry.
A: Clean gently, touch up chips early, and avoid letting wet leaves or rusty metal sit on the surface.
Reading the Chair Before You Reach for Paint
Start by looking at the chair as a small structure rather than a decorative object. Adirondack chairs have many exposed edges, angled slats, screw pockets, and horizontal arms where water and sunlight collect. Before refinishing, check whether the chair is solid enough to deserve the work. Press gently on the back, arms, and front legs. A little movement may only mean loose hardware, but twisting joints, soft feet, or split support rails need repair before any finish will last.
Farmhouse white works best when the chair still has crisp lines. If the wood is badly cupped or deeply checked, paint can make those defects more obvious. That does not mean an older chair is beyond saving. It means the refinishing plan should include filling, sanding, and perhaps replacing one or two damaged slats. A painted farmhouse finish is forgiving in color, but it rewards clean carpentry underneath.
Remove cushions, cup holders, loose accessories, and any old felt pads from the feet. Photograph the chair before disassembly if you plan to remove slats or hardware. Adirondack geometry can look obvious until several similar boards are lying on a bench, and a quick reference photo saves frustration later.
Cleaning Away the Outdoor Life It Has Collected
A white finish should never be built over outdoor grime. Even a chair that looks dry may hold sunscreen residue, pollen, mildew film, smoke dust, or old oil in the grain. Wash the chair with mild soap and warm water, using a soft brush to reach between slats and under the arms. Rinse with a damp cloth rather than blasting with a pressure washer, which can raise grain and force water into joints.
If mildew is present, treat it before sanding. Sanding active mildew can smear discoloration into the surface and spread spores through the dust. A gentle outdoor wood cleaner or diluted vinegar solution can help on many chairs, followed by a clean water wipe. Let the chair dry thoroughly. For outdoor furniture, overnight is often not enough; thick arms and end grain may need a full sunny day or more.
Once dry, mark repairs with painter's tape. Circle loose screws, rough spots, peeling finish, and dark stains. This creates a simple work map and keeps you from discovering problems after primer is already open.
Sanding for the Soft Farmhouse Surface
The goal is not to erase every sign of age. Farmhouse style often looks best when the chair keeps a little honest character. The sanding goal is a smooth, sound surface that gives primer something to grip. Begin with medium grit where old finish is peeling, then move to finer grit for arms, seat edges, and the upper back where hands and shoulders touch.
Sand with the grain whenever possible, especially on broad arms and front edges. Round sharp corners slightly, because paint tends to fail first on knife-like edges. Do not over-round the silhouette, though. Adirondack chairs have strong, recognizable geometry, and the farmhouse look depends on clean lines as much as softness.
Dust removal matters more with white paint than almost any other color. Vacuum crevices, brush between slats, and finish with a tack cloth or barely damp lint-free rag. Dust left in corners will mix into primer and create tiny bumps that catch dirt later.
Choosing Primer and Farmhouse White Paint
Primer is the difference between a chair that looks freshly painted for a month and one that holds its finish through seasons. Use an exterior primer appropriate for the chair's material and the previous finish. Tannin-rich woods, knots, and old stains may need stain-blocking primer so yellow or brown discoloration does not bleed through the white topcoat.
Farmhouse white is not one single color. A warm white feels softer with cedar, brick, stone, and tan cushions. A cooler white looks crisp near gray decking, black hardware, and modern planters. Avoid choosing paint from a tiny indoor chip alone. Brush a sample on scrap wood or an inconspicuous underside and look at it outdoors in morning and afternoon light.
Use exterior paint designed for trim, doors, or outdoor furniture. These formulas resist moisture and abrasion better than basic wall paint. Satin and soft semi-gloss finishes are practical because they wipe clean while still looking relaxed. Flat paint can be beautiful at first, but on chair arms it tends to hold dirt and hand marks.
Applying Thin Coats That Look Handcrafted, Not Heavy
Set the chair on a drop cloth where you can move around it easily. Begin with the underside, feet, and hidden edges, then move to the visible surfaces. This order helps protect vulnerable end grain and prevents awkward reaching across wet paint. A quality angled brush works well for slats and joints, while a small foam roller can smooth broad arms if followed lightly with a brush.
Thin coats are essential. Heavy paint bridges the gaps between slats, pools around screw heads, and chips more easily. Let primer dry fully, sand lightly, remove dust, and then apply the first white coat. The first coat may look slightly uneven, especially over repaired areas. Resist the urge to fix everything with thickness. The second coat brings the finish together.
Watch the undersides of arms and front edges for drips. White drips can harden into visible ridges that are annoying to sand later. Good lighting helps. Walk around the chair after each coat and check from low angles.
Solving Common Farmhouse White Problems
White finishes make small mistakes easy to see, but most problems can be corrected if they are caught early. If brown or yellow stains appear through the primer, stop and apply a stain-blocking coat to that area rather than hoping the next paint coat will hide it. Bleed-through usually gets stronger, not weaker, under fresh white paint. If brush ridges dry on an arm, sand them smooth after the coat cures and continue with thinner paint.
Peeling around joints often means the surface was damp, glossy, dirty, or moving too much. Scrape only the failed area, feather the edges, clean the dust, and prime again. Farmhouse style can tolerate slight variation, but it should not look neglected the day the project is finished. The most attractive white Adirondack chairs feel relaxed because the workmanship is calm and consistent.
Planning the Chair's Outdoor Setting
A newly refinished chair deserves a thoughtful location. White paint reflects light and can brighten a dark porch corner, but the same brightness can feel stark on an empty concrete pad. Place the chair where it can relate to other outdoor elements: a side table, a planter, a woven cushion, a view toward the garden, or a quiet reading spot. The setting helps the finish feel intentional rather than merely new.
Consider splash zones before choosing the final home. A chair under a roof drip line, near bare mulch, or close to sprinklers will need more cleaning and touch-up. Farmhouse white is practical when maintained, but it is not invisible. A slightly raised deck, gravel seating area, or covered porch usually keeps the finish cleaner and helps the chair age gracefully.
Creating a Simple Touch-Up Routine
Keep a small amount of the exact paint in a sealed jar labeled with the color, brand, sheen, and date. This tiny habit makes future maintenance easy. Chips on arm edges and chair feet should be touched up before rain reaches bare wood. Clean the spot, sand lightly, dab primer if needed, and apply a small amount of paint with a fine brush.
At the beginning and end of each outdoor season, give the chair a slow inspection. Look at the feet, the front edge of the seat, the tops of the arms, and the joints where water tends to pause. A farmhouse white finish can stay beautiful for years when maintenance is treated as a few quiet minutes rather than a dramatic restoration.
Making White Practical for Everyday Outdoor Use
A farmhouse white chair should not be too precious to use. The finish needs to handle damp towels, coffee mugs, dusty shoes, and the ordinary movement of people settling into a deep seat. That practicality begins with coating the high-contact areas thoroughly. The tops of the arms, the front lip of the seat, and the upper back slats should feel smooth and fully covered, with no thin places where primer peeks through.
Choose accessories that protect the finish without hiding the chair. A breathable cushion can reduce abrasion on the seat, while small glides under the feet can keep the chair from grinding against rough concrete. If the chair sits near a fire pit, wipe away ash after gatherings because fine residue can dull white paint. These small decisions keep the chair useful, relaxed, and good-looking instead of turning it into a display piece.
Sealing, Curing, and Styling the Finished Chair
Many exterior paints do not require a separate clear coat, and adding one can sometimes yellow a white finish. If you choose a protective topcoat, select a non-yellowing exterior-rated product and test it first. More important than a clear coat is allowing the paint to cure before hard use. Dry paint is not always cured paint. Give the chair several days before dragging it across a patio, stacking it, or setting heavy planters on the arms.
Farmhouse styling should support the chair rather than bury it. Linen-look cushions, black metal lanterns, galvanized planters, striped outdoor pillows, and natural jute-style rugs all pair well with farmhouse white. Leave some breathing room around the chair so the crisp silhouette can show.
Maintenance is simple but important. Wipe pollen and spills promptly, touch up chips before water reaches the wood, and store or cover the chair during harsh weather. A farmhouse white Adirondack chair looks effortless when finished, but that easy charm is built from careful prep, light coats, and small seasonal habits.
The reward is more than a brighter chair. A well-refinished farmhouse white Adirondack chair changes the mood of an outdoor space because it looks clean without feeling formal. It invites morning coffee, muddy garden breaks, and evening conversations with the same easy confidence. When the finish is built correctly, the chair can be both pretty and practical.
That balance is the real farmhouse lesson: make the chair useful first, then let the simple white finish bring the charm. The chair should still feel like outdoor furniture, not a fragile prop, and that confidence comes from preparation you can trust.