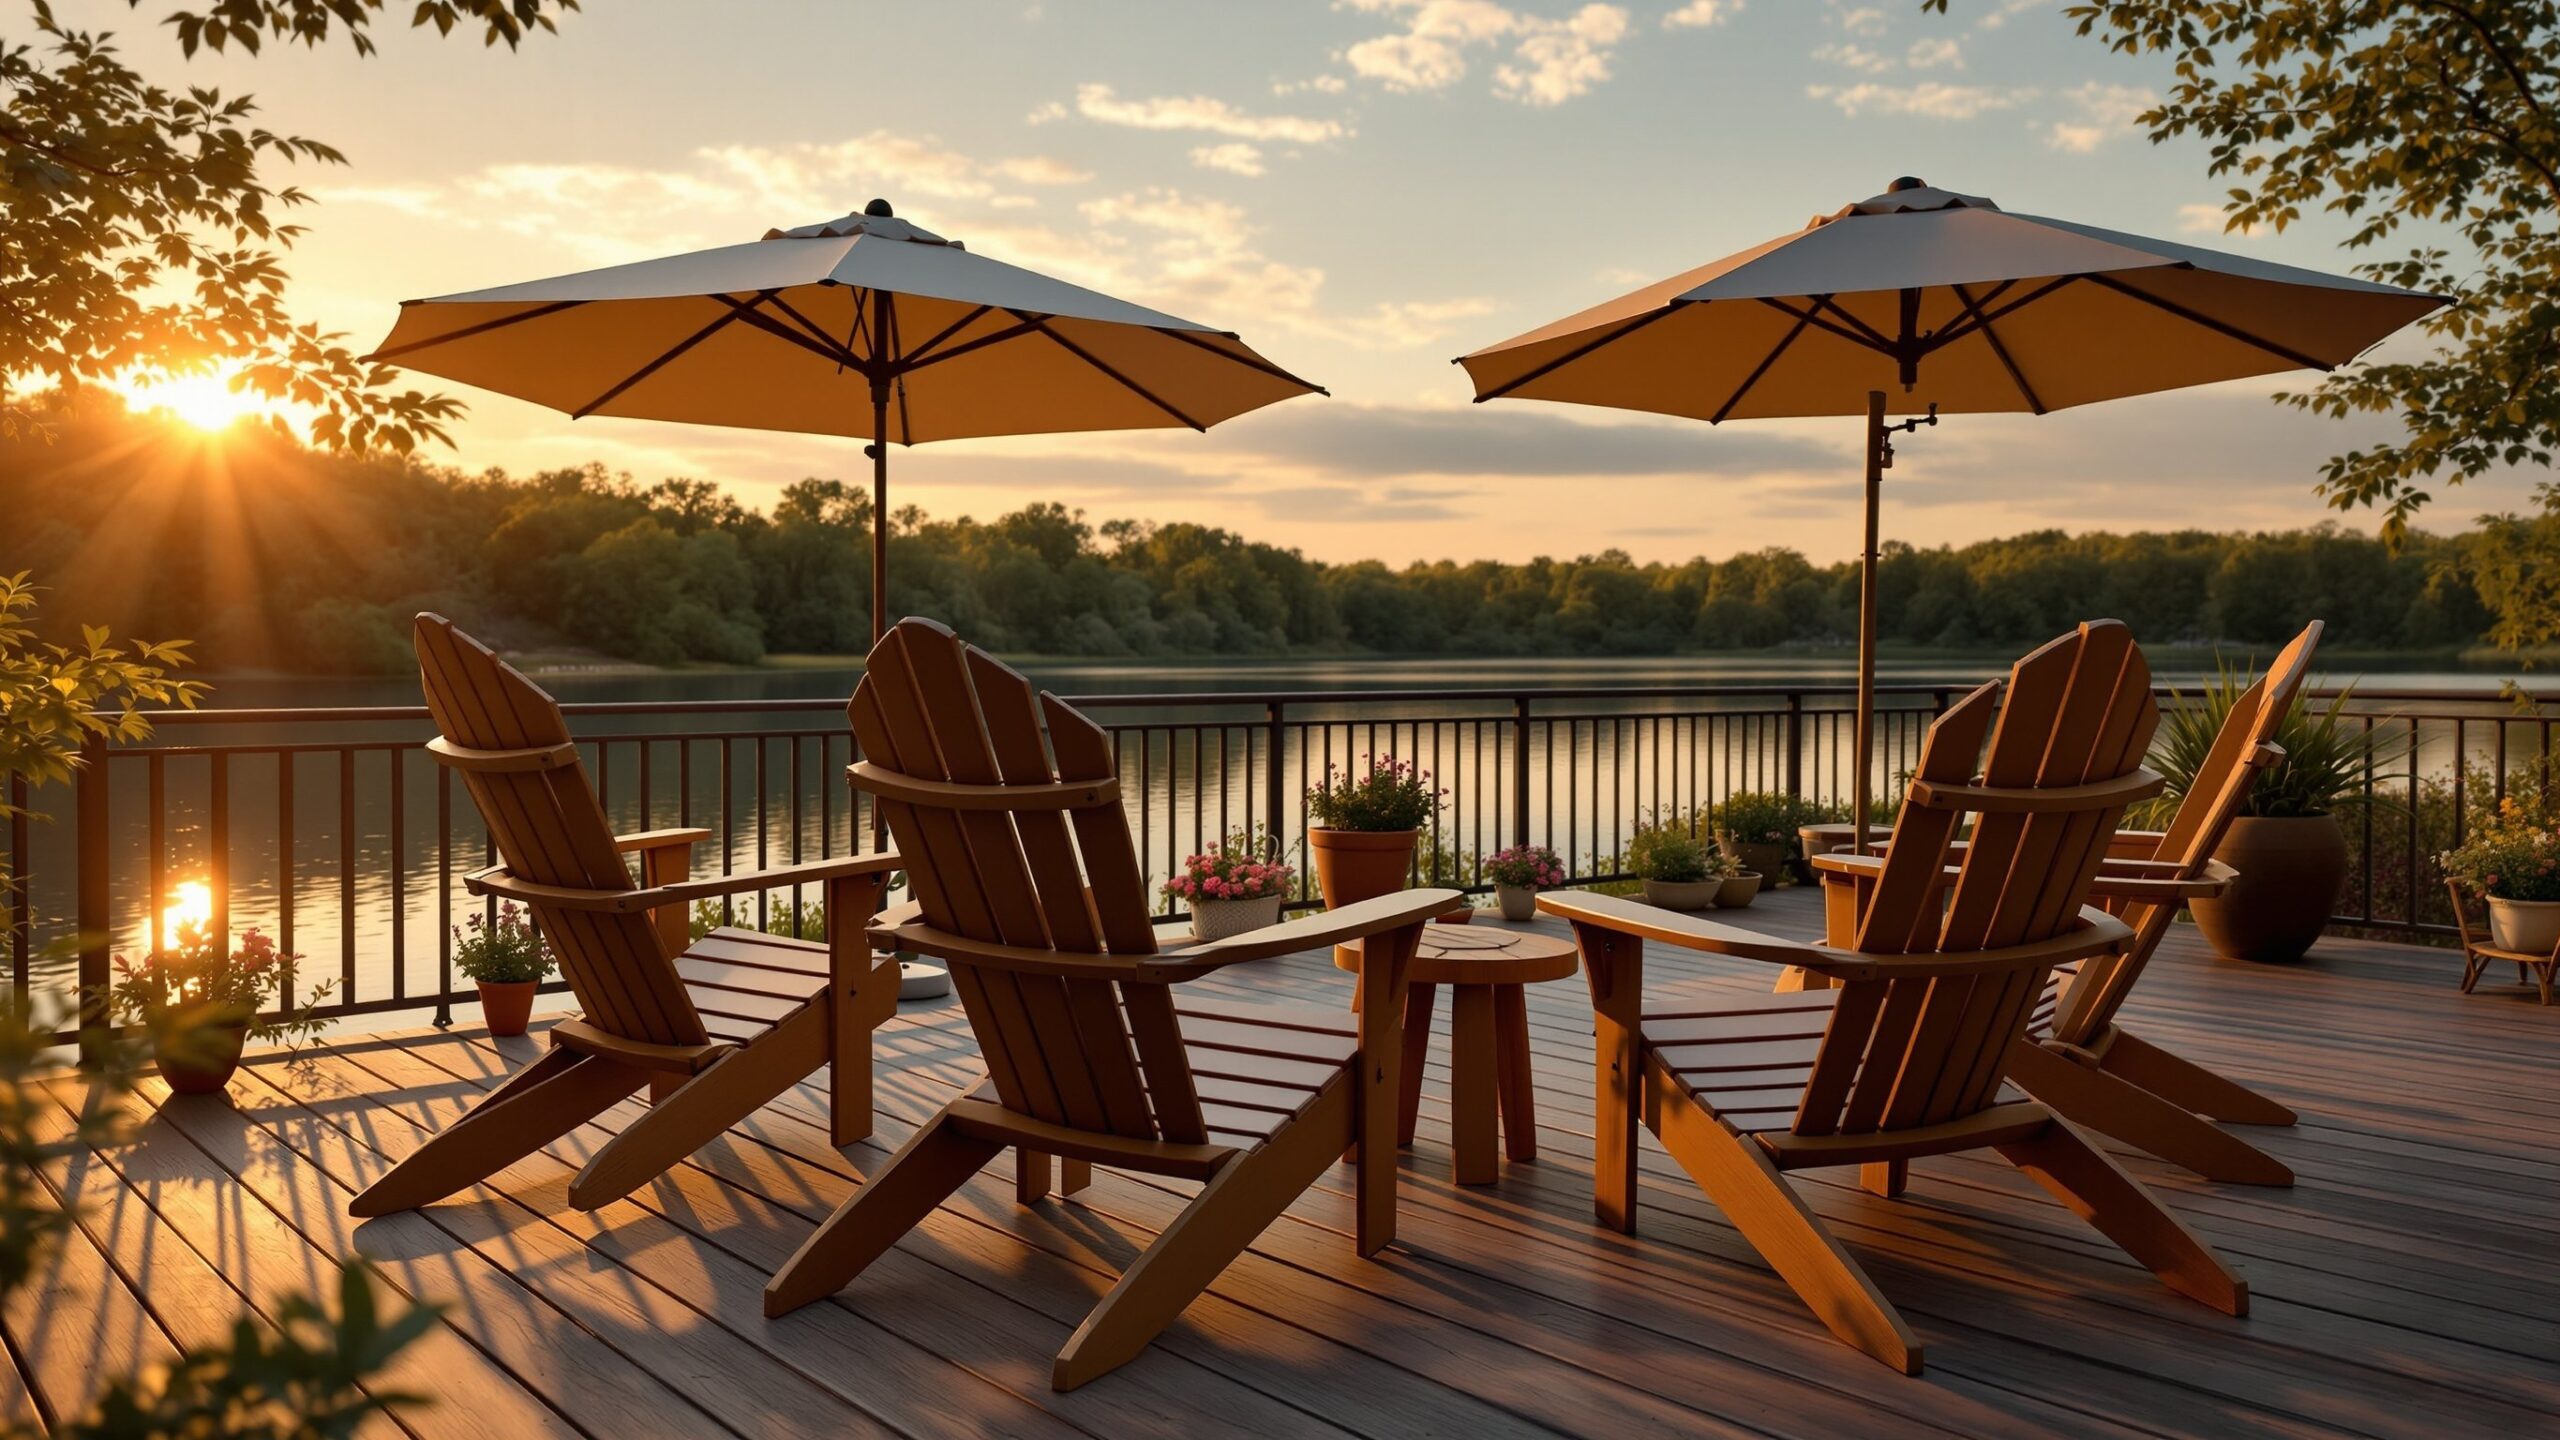
Adirondack chairs are built for lingering—long conversations, slow sunsets, and seasons that roll by without hurry. But outdoors is an unforgiving place for wood. Sunlight bleaches color, rain swells fibers, frost opens hairline cracks, and heat dries boards until joints loosen. Applying a weatherproof finish is the single most effective way to preserve the chair’s comfort, color, and strength while keeping maintenance manageable year after year. This guide walks you through the entire process in a clear, practical way—from choosing the right finish to applying it cleanly and caring for it over time—so your chairs stay inviting through every season.
A: Paint systems often last longest when prepped well; oils are easiest to maintain; varnish can be gorgeous but needs the most upkeep.
A: If it’s peeling or flaking, yes. If it’s intact but dull, clean, scuff sand, and recoat with a compatible product.
A: Typically 2–3 thin coats for most systems; follow product directions and don’t rush cure time between coats.
A: Usually 120–150 for oils/stains; 150–220 for paint/clear coats—too smooth can reduce adhesion or absorption.
A: It’s risky—sun can flash-dry the surface and trap solvents/moisture. Shade and steady temps give better results.
A: Clean thoroughly first, improve airflow, and choose exterior products with mildew resistance; keep the chair clean seasonally.
A: Coats may be too thick, humidity too high, or the product isn’t curing well—give more time and ensure good ventilation.
A: Yes—especially slat bottoms and end grain. Balanced sealing reduces moisture swing and helps prevent warping.
A: Oils: often yearly (or sooner in harsh sun). Paint/stain/clear coats: recoat when beading fades or surface looks chalky.
A: Seal end grain + joints, use stainless hardware, and commit to thin coats with proper cure time.
Why Weatherproofing Matters More Than You Think
Wood is hygroscopic, meaning it constantly absorbs and releases moisture in response to its environment. Left unprotected, that movement leads to warping, surface checking, mildew growth, and early failure of fasteners and joints. Ultraviolet light compounds the damage by breaking down lignin, the natural glue that holds wood fibers together. A quality weatherproof finish slows moisture exchange, blocks UV radiation, and creates a sacrificial layer that takes the wear instead of the wood beneath. The result is not only better looks but also a longer service life and a more comfortable seat that doesn’t splinter or roughen over time.
Know Your Wood Before You Start
Different woods respond differently to finishes, and understanding what your chair is made of helps you choose wisely. Cedar and redwood contain natural oils that resist rot but still benefit from UV protection. Pine and fir are affordable and easy to finish, yet they demand thorough sealing to prevent swelling and decay. Hardwoods like teak, eucalyptus, or acacia are dense and durable, though their natural oils can affect adhesion unless surfaces are properly cleaned. Recycled plastic lumber needs no finish at all, while composite or resin chairs follow manufacturer-specific recommendations. If you’re unsure, a quick look at the grain and weight—or the original purchase information—usually reveals the species.
Choosing the Right Weatherproof Finish
The best finish balances protection, appearance, and maintenance. Penetrating oils soak into the wood, enhancing grain and flexibility while offering modest water resistance. They’re easy to renew but need reapplication more often. Exterior stains add pigments that boost UV defense and come in transparent to solid options, letting you choose between a natural look and a painted appearance. Paint provides the strongest UV barrier and a uniform color, yet it hides grain and requires careful surface prep to avoid peeling. Clear sealers and spar varnishes create a glossy shell that sheds water effectively, but they must be maintained diligently to prevent cracking. Many homeowners prefer a high-quality exterior stain or hybrid oil-stain for Adirondack chairs because it offers a forgiving application and straightforward upkeep.
Tools and Materials That Make the Job Easier
A smooth finish begins with the right setup. Soft-bristle brushes, foam brushes, or lint-free cloths each have their place depending on the finish you choose. Fine-grit sandpaper or sanding sponges help level surfaces without rounding edges. A drop cloth protects your workspace, while painter’s pyramids or blocks lift chair parts for even coverage. Mild detergent, water, and a stiff nylon brush are usually enough for cleaning, though specialty wood cleaners can help on weathered pieces. Keep rags, gloves, and a stir stick handy so you can work efficiently without rushing.
Preparing Adirondack Chairs for Finishing
Preparation is where most of the quality is built. Start by inspecting the chair for loose fasteners, cracks, or splinters. Tighten screws, fill small gaps with an exterior wood filler if needed, and let repairs cure fully. Clean the chair thoroughly to remove dirt, pollen, and old residue that could interfere with adhesion. Rinse well and allow the wood to dry completely; finishing damp wood traps moisture and shortens the life of the coating. Light sanding follows, just enough to smooth raised grain and open pores. Always sand in the direction of the grain, and wipe away dust before moving on.
Understanding Weather and Timing
Outdoor finishing is as much about timing as technique. Choose a dry stretch with mild temperatures, ideally between 50°F and 85°F. Avoid direct midday sun, which can cause finishes to flash-dry and leave lap marks. High humidity slows curing, while cold weather thickens finishes and reduces penetration. Morning or late afternoon often provides the best conditions, letting the finish level smoothly and cure evenly.
Applying Penetrating Oils and Oil-Based Finishes
Penetrating oils are forgiving and well-suited to the broad slats and curves of Adirondack chairs. Stir the product gently, then apply a liberal coat with a brush or cloth, working it into the grain. Allow the oil to soak for the manufacturer’s recommended time, then wipe off excess to prevent a sticky surface. The wood should look nourished, not glossy. A second coat after the first has cured deepens protection and color. These finishes highlight natural grain and make future touch-ups simple, since they don’t form a thick surface film.
Working With Exterior Stains
Exterior stains combine pigment and binder to protect and color wood simultaneously. Apply them evenly, keeping a wet edge as you move from slat to slat to avoid overlaps. Transparent and semi-transparent stains accentuate grain while providing UV protection through color pigments. Solid stains act more like paint, masking grain but offering longer-lasting color. Two thin coats typically outperform one thick coat, allowing better penetration and adhesion. Take your time around armrests and seat edges, where wear is greatest.
Painting Adirondack Chairs for Maximum Protection
Paint is a bold choice that delivers excellent weather resistance when done correctly. Begin with a high-quality exterior primer to seal the wood and create a stable base. Once dry, apply exterior-grade paint in thin, even coats, sanding lightly between coats if the manufacturer suggests it. Acrylic latex paints remain flexible and resist cracking, making them ideal for outdoor furniture. Pay special attention to end grain and joints, as these areas absorb moisture first. When properly applied, paint can protect chairs for several seasons before needing refreshment.
Clear Sealers and Spar Varnish: Beauty With Commitment
Clear finishes preserve the natural look of wood while creating a water-shedding barrier. Spar varnish and marine-grade sealers are formulated to flex with temperature changes, but they still require attentive maintenance. Apply multiple thin coats, allowing proper drying time between each. Light sanding between coats promotes adhesion and clarity. These finishes shine in covered patios or screened porches where exposure is reduced, but they demand annual inspection outdoors to prevent cracking or peeling.
Drying, Curing, and First Use
Drying time refers to when a finish is no longer tacky, while curing time indicates when it has reached full hardness. Respect both. Chairs may feel dry to the touch within hours, but placing cushions or stacking too soon can imprint the finish. Allow full curing before heavy use, typically several days. Proper curing ensures maximum durability and prevents premature wear.
Maintenance That Extends Finish Life
A little routine care goes a long way. Rinse chairs periodically to remove dirt and salts that degrade finishes. At the start and end of each season, inspect for dull areas, thinning color, or exposed wood. Touch up early to avoid full refinishing later. Oil finishes may need refreshing annually, while stains and paints last longer depending on exposure. Store chairs under covers or in a sheltered spot during harsh weather to dramatically extend finish life.
Common Mistakes and How to Avoid Them
Rushing preparation is the most common pitfall. Skipping cleaning or sanding compromises adhesion and shortens lifespan. Overapplying finish leads to sticky surfaces and uneven curing. Ignoring weather conditions can trap moisture or cause blistering. Finally, mixing incompatible products—such as oil over uncured paint—creates failures that are hard to fix. Following product instructions and respecting drying times prevents nearly all of these issues.
Safety and Environmental Considerations
Many finishes contain solvents that require good ventilation and protective gloves. Dispose of oil-soaked rags properly to prevent spontaneous combustion, spreading them flat to dry before discarding. If environmental impact is a concern, look for low-VOC or water-based exterior finishes that offer strong performance with reduced emissions.
Bringing It All Together
Applying weatherproof finishes to Adirondack chairs is a satisfying project that rewards patience and care. With the right preparation, a suitable finish, and mindful application, you create a protective layer that preserves comfort, beauty, and structural integrity through sun, rain, and snow. Whether you prefer the warm glow of oiled wood, the rich tone of stain, or the bold statement of paint, thoughtful weatherproofing turns a simple chair into a lasting outdoor companion—ready for every season and every moment spent outdoors.