The Art of Adirondack Craftsmanship
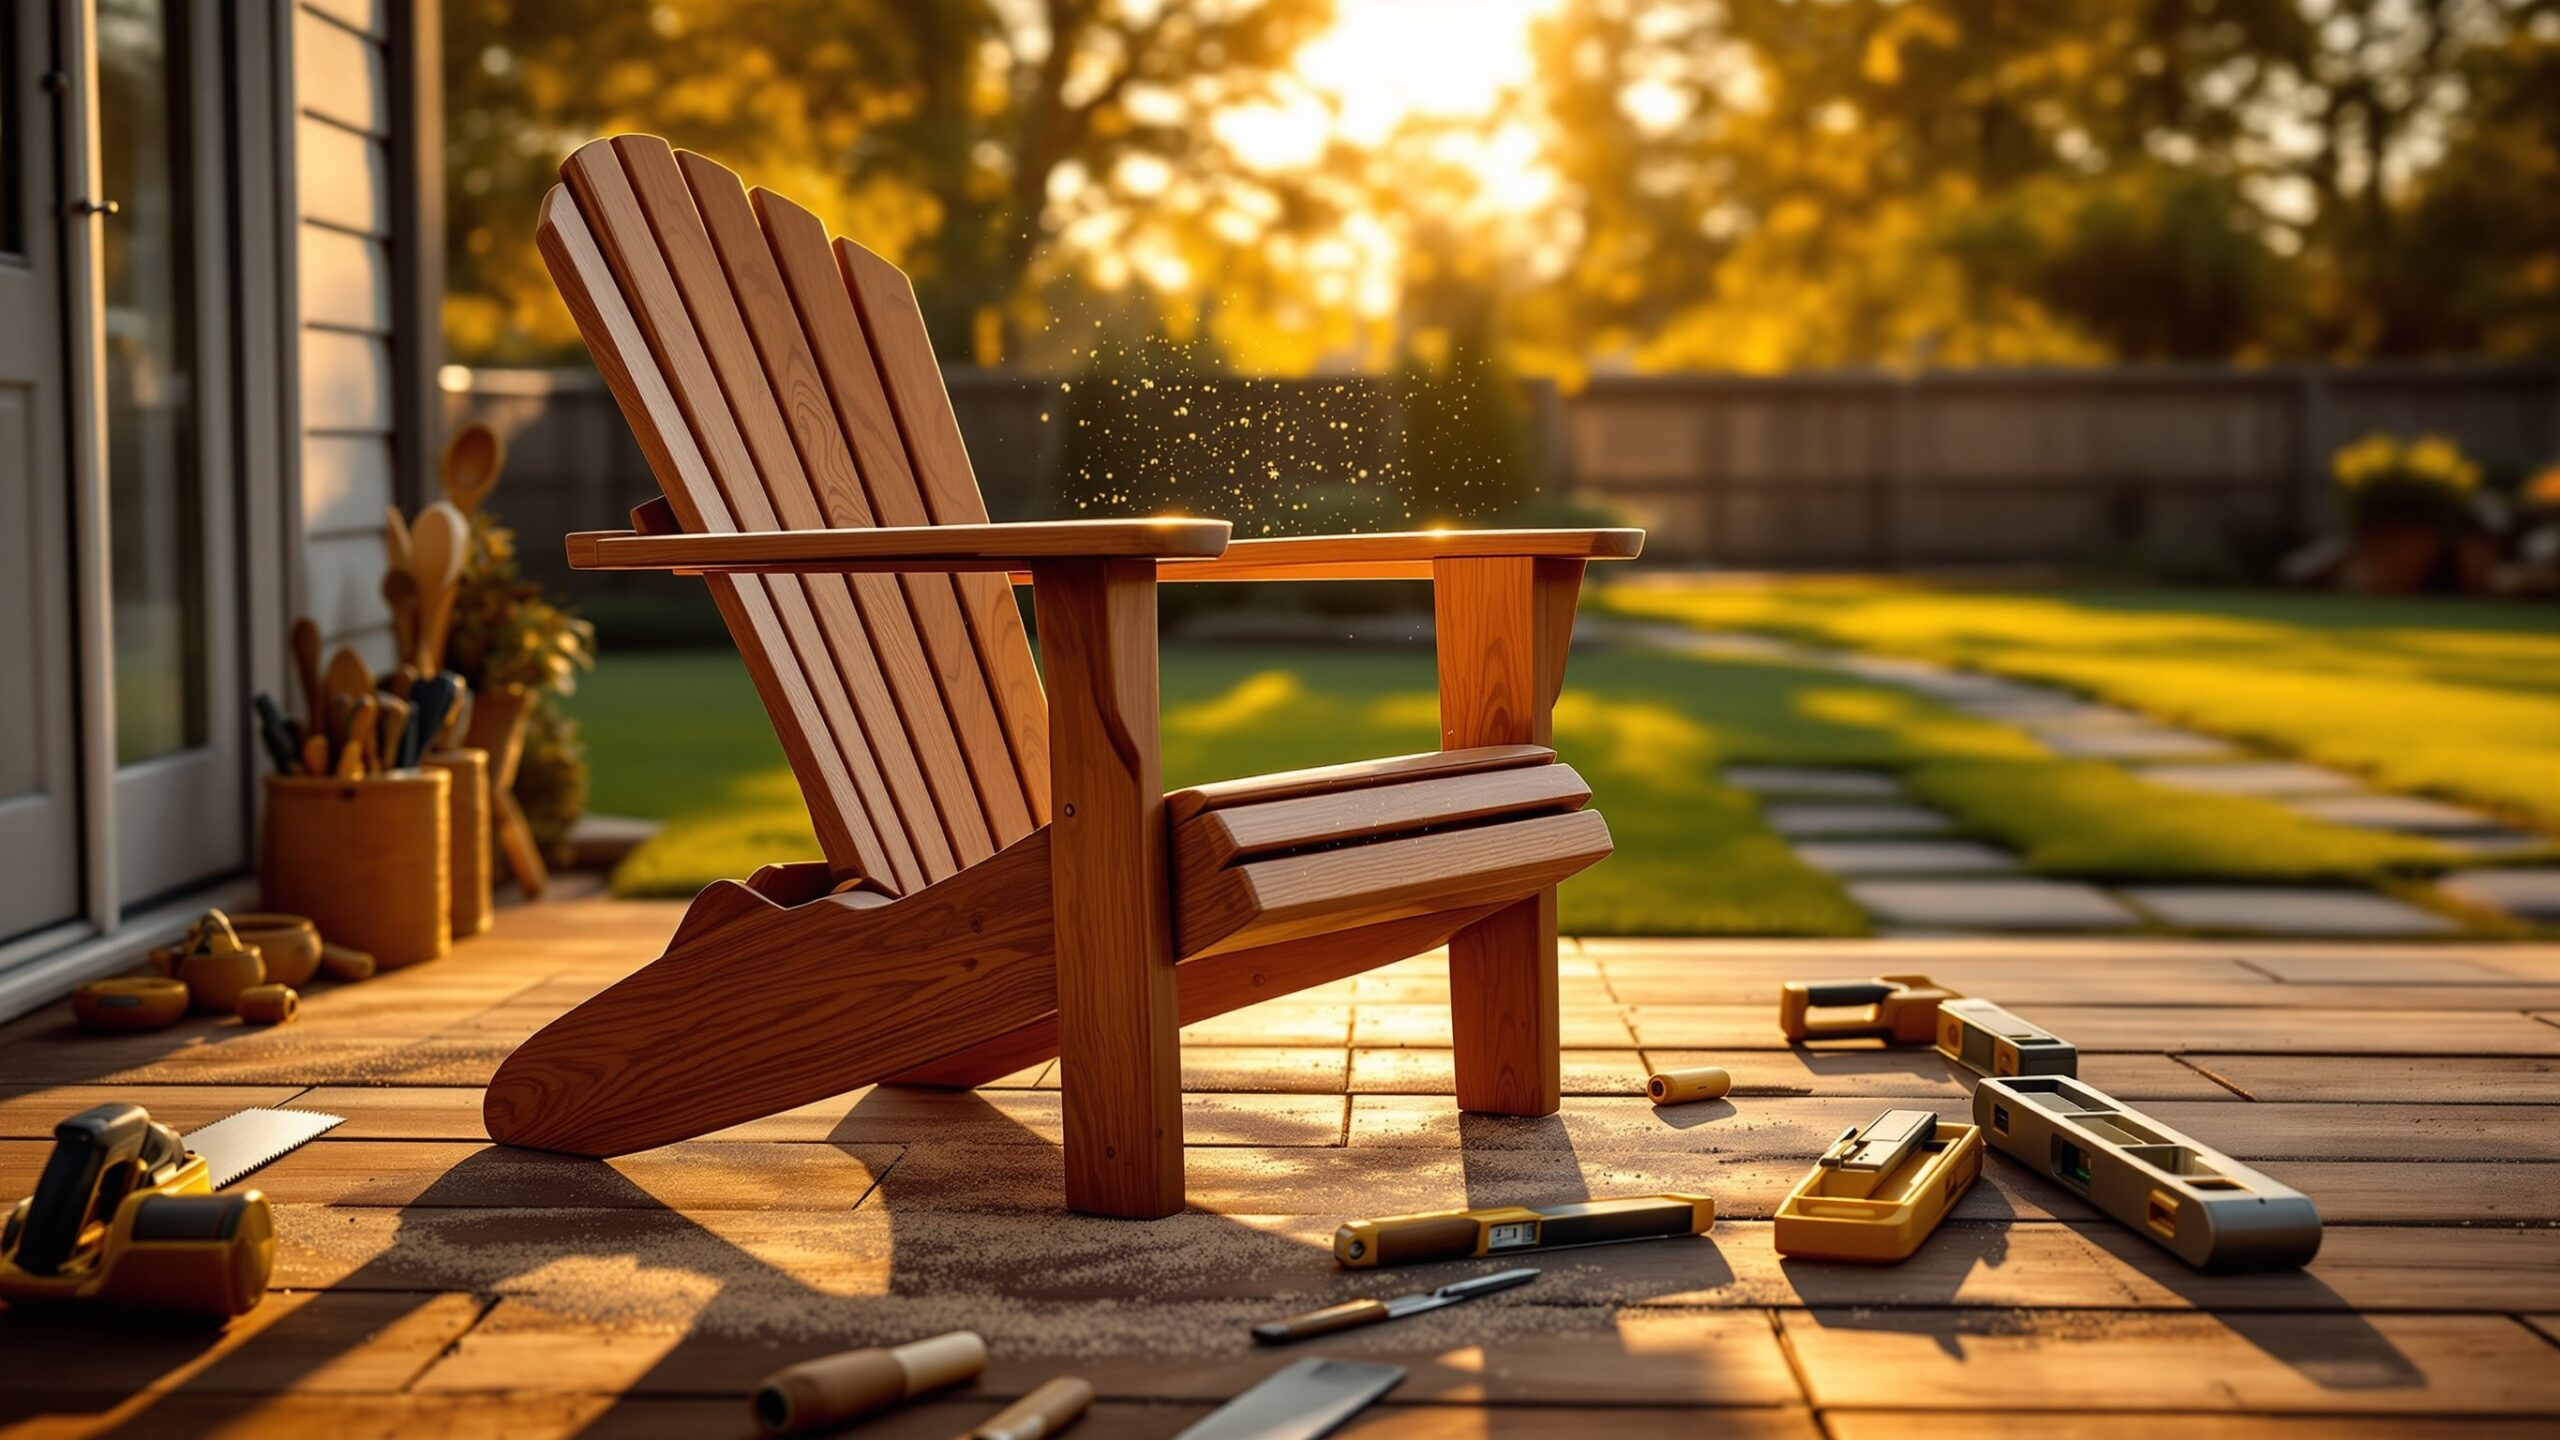
There’s something uniquely satisfying about crafting an Adirondack chair—the slanted seat, the wide armrests, and the timeless silhouette that evokes lake houses, mountain cabins, and breezy coastal decks. For beginners, the project is both approachable and rewarding: a piece of outdoor furniture that’s beautiful, functional, and steeped in tradition. But the path from raw lumber to a finished chair involves precision, patience, and a few insider secrets. Cutting, assembling, and sanding are the three core stages that transform ordinary boards into something extraordinary. Mastering them not only improves the final look of your chair—it builds the confidence to take on bigger woodworking challenges.
A: A 40–60T general-purpose/finish blade on a miter saw balances speed and clean edges.
A: Pre-drill, use the right pilot size, and keep screws at least 3/4″ from board ends.
A: Stop at 120–150 for paint; go to 180–220 for clear coats to keep pores even.
A: Too much pressure or skipping grits; vacuum well and sand with the grain after ROS.
A: Glue wood-to-wood structural joints; skip glue with HDPE. Use exterior-rated adhesive.
A: Cut two identical spacers (e.g., 1/4″) and leapfrog them as you fasten slats.
A: Ease all touch points; heavier roundovers on arms/front edges, lighter on inside corners.
A: Yes with exterior screws and plugs; orient pocket holes where water won’t sit.
A: Set the chair on a flat surface, shim the short leg, mark, then trim/sand carefully.
A: Right after final sanding and dust removal—don’t wait long or fibers can rise again.
Before You Cut: Setting the Stage for Success
Every successful Adirondack project begins long before the first cut. Start by studying your plans carefully and ensuring every measurement aligns. The Adirondack chair’s charm lies in its relaxed angle and organic curves, which demand accuracy. Even a small deviation in cut angle can make the back too upright or the seat too steep.
Select a wood species suitable for outdoor use—cedar, cypress, teak, or pressure-treated pine are classic choices. Each has its own workability; cedar is lightweight and fragrant, while teak is dense and resists weathering but requires sharp tools. Regardless of choice, allow the wood to acclimate in your workspace for at least 24 hours to minimize warping.
Prepare your workspace with safety gear—goggles, ear protection, dust mask—and make sure all tools are sharp and calibrated. A well-tuned saw ensures clean edges that fit together without gaps, setting the foundation for a chair that lasts decades.
Precision Cutting: The Heart of the Build
Cutting is where the transformation begins. The gentle curves of an Adirondack chair—the swooping back slats and arched seat—give it its character. Achieving those shapes takes both precision and finesse. Beginners often underestimate how important accurate cuts are, but every joint and angle affects comfort and stability.
Begin with a circular saw or miter saw for straight cuts on the frame components. When cutting angles for the legs and seat supports, double-check the bevel settings. A mistake of even two degrees can make the seat feel off-balance. For curved components like armrests and back slats, trace templates on the boards first. Templates save time, ensure uniformity, and help you visualize how each piece fits together.
When cutting curves, a jigsaw or bandsaw is ideal. Go slowly—forcing the saw through wood can cause jagged edges or burn marks. Smooth motion and light pressure yield cleaner results. After cutting, sand the edges lightly with medium-grit sandpaper to remove splinters and rough spots. This not only makes assembly easier but also keeps the final surface smooth for finishing.
Mastering Templates and Layouts
Templates are your best friends when building your first Adirondack chair. They ensure each part matches perfectly—a critical factor in achieving symmetry. Whether you make them from cardboard, MDF, or thin plywood, a good set of templates allows you to duplicate identical pieces quickly and accurately. Label each template clearly with part names and grain directions to maintain consistency across multiple builds. For complex pieces like curved back supports or angled seat slats, align the grain direction with the curve. This increases strength and prevents cracking over time. Once your templates are complete, trace them with a sharp pencil or fine marker to maintain crisp, visible lines. Avoid ballpoint pens—they can bleed and obscure your marks, leading to uneven cuts. Another pro tip: nest pieces strategically on your boards to minimize waste. Woodworking isn’t just about craftsmanship—it’s also about efficiency. Careful layout planning saves money and helps maintain a consistent color and grain pattern throughout your chair.
Assembly: The Moment of Truth
Once your pieces are cut, it’s time to assemble the puzzle. This is where precision pays off. Dry-fit all pieces before applying glue or screws to ensure everything aligns correctly. This step helps you catch misalignments or tight joints before committing.
Start with the legs and seat frame, which form the structural base. Secure joints with outdoor-grade wood screws and weatherproof glue. Always pre-drill holes to prevent splitting—especially near edges or in softer woods like cedar. Countersink the screws slightly below the surface for a cleaner finish.
As you attach the seat slats, maintain even spacing to allow for wood expansion in humid weather. Use spacers to ensure consistency across each slat. When adding the backrest, align the lower ends of the back slats with the seat curve—this creates that signature laid-back feel Adirondack chairs are known for. Don’t rush this stage; each piece influences how the chair looks and feels when someone sits in it.
Fasteners, Glue, and Weatherproofing Know-How
Using the right fasteners is crucial for longevity. Galvanized or stainless-steel screws resist rust, ensuring your chair remains solid even after years outdoors. Avoid nails—they loosen over time, especially when exposed to moisture. When applying wood glue, choose an exterior-grade adhesive. Apply a thin, even coat on contact surfaces, clamp the joints, and wipe away excess immediately. Once dry, glue joints are often stronger than the wood itself. For added protection, seal the undersides of pieces before final assembly—areas like the bottom of legs are prone to moisture absorption. A pro builder’s trick: slightly round over sharp edges using a router or sanding block. Rounded edges not only feel smoother but also hold paint or stain better, reducing the risk of peeling and moisture infiltration.
The Subtle Science of Alignment
Alignment is what separates an average Adirondack chair from an exceptional one. Check your frame from multiple angles—front, side, and top—to confirm symmetry. Use a square and level to verify the seat and armrests sit evenly. Uneven assembly can make the chair wobble or tilt backward too steeply.
A common beginner mistake is tightening one side completely before securing the other. Instead, partially drive screws on both sides first, then gradually tighten them in sequence. This distributes pressure evenly and prevents twisting. For complex assemblies like curved backs, temporary bracing helps hold everything in place until secured.
If something feels slightly off, step back and re-evaluate before continuing. Woodworking rewards patience; small corrections early prevent major frustrations later.
Sanding: The Path to Perfection
Once the structure is assembled, sanding transforms rough lumber into a polished masterpiece. It’s tempting to rush through, but sanding defines the tactile quality of your chair—the smoothness your hand feels along the armrests, the comfort against bare skin, and the professional finish that distinguishes a well-made piece.
Start with 80-grit sandpaper to remove tool marks and level uneven surfaces. Follow with 120-grit, then 180-grit for a silky texture. Always sand along the grain, not across it, to prevent scratches. For curved parts like armrests and seat edges, a foam sanding pad conforms to the shape more easily than a rigid block.
Pay special attention to corners and joints, where glue residue or uneven surfaces often hide. Run your fingers across every edge—if it feels rough, it will look rough after staining or painting. A final hand-sanding with fine-grit paper ensures every surface is ready for finishing.
Dust Control and Finish Prep
Wood dust is the enemy of a flawless finish. Before applying any paint, stain, or sealer, remove all dust with a tack cloth or damp microfiber rag. Vacuum the workspace to prevent airborne particles from settling back onto your project. If you’re staining, consider applying a wood conditioner first—especially for softwoods like pine or cedar. It prevents blotching and ensures even color absorption. For paint finishes, use an outdoor primer to create a moisture barrier and improve adhesion. Either way, let your surface dry completely before applying the final coat. Outdoor finishes come in several varieties—penetrating oils for a natural look, spar varnishes for high-gloss durability, or exterior paints for color customization. Whichever you choose, apply in thin, even layers and lightly sand between coats for that professional, glass-smooth result.
Ergonomics: Building Comfort into Every Curve
The Adirondack chair’s reputation for comfort isn’t accidental—it’s engineered into its angles. The seat’s backward slope and the reclined backrest are designed to cradle the body naturally. As you assemble and sand, test these angles by sitting in the chair before final fastening. You’ll quickly feel whether adjustments are needed.
Slight variations in seat height or back angle can dramatically change comfort. The ideal seat angle is typically between 15–20 degrees, while the backrest leans at about 20–25 degrees. Adjust to your preference before applying the final finish. Small tweaks now can turn a good chair into your favorite outdoor seat.
Finishing Touches: Making It Truly Yours
Beyond sanding and sealing, the finishing touches give your Adirondack chair personality. Round the armrest edges for comfort, add decorative screw plugs for a clean look, or personalize with engraved initials or a subtle carved pattern. For a coastal vibe, paint in classic white or sea-glass blue; for a rustic cabin look, go with a natural oil finish that highlights the wood grain. Even if you’re a beginner, these small details elevate your craftsmanship. They’re what people notice first and what make your chair distinct. Consider applying a second protective coat each season to keep it weather-resistant year after year.
Troubleshooting Common Beginner Mistakes
Every craftsperson encounters a few hiccups. A misaligned joint, uneven seat slats, or gaps in the backrest can all be fixed with a little know-how. If you notice small gaps, use exterior wood filler or mix sawdust with glue for a seamless repair. For uneven seat slats, loosen the screws slightly and re-adjust spacing before tightening again.
Splintering along cuts often means the saw blade was dull or the wood wasn’t supported properly. To prevent this, use painter’s tape along cut lines or make cuts on the back side of visible boards. If you discover minor surface burns from the saw, light sanding with fine-grit paper removes them easily.
Remember, woodworking is iterative. Each chair you build will refine your technique and deepen your understanding of how wood behaves.
Maintaining Your Masterpiece
A well-built Adirondack chair can last decades with proper care. Keep it clean by wiping away dust and debris regularly. Once a year, lightly sand the surface and apply a fresh coat of sealant or paint to maintain its protective layer. Store the chair in a covered area during harsh winters or storms to prolong its life.
If you’ve used natural oils, reapply periodically to keep the wood nourished and water-resistant. With time, your chair will develop a rich patina that enhances its character. Each scratch or fade mark becomes part of its story—proof of seasons enjoyed outdoors.
Confidence Through Craftsmanship
There’s something profoundly empowering about creating furniture with your own hands. Cutting, assembling, and sanding may seem like basic steps, but together they form the backbone of craftsmanship. Each phase requires attention, creativity, and care—a reflection of the maker’s mindset. As you gain confidence, you’ll start to notice the rhythm of woodworking: the hum of the saw, the alignment of edges, the quiet satisfaction of smooth, sanded grain beneath your fingertips.
The Adirondack chair isn’t just a project—it’s a rite of passage for anyone stepping into the world of woodworking. With every cut, screw, and stroke of sandpaper, you learn to see wood not just as material, but as potential. Your first Adirondack chair is the beginning of a journey filled with sawdust, sunlight, and skill.
From Raw Lumber to Relaxation
By the time you set your newly finished chair on the porch or patio, it’s more than a piece of furniture—it’s a symbol of patience, precision, and perseverance. Each curve reflects your attention to detail; each joint holds the quiet satisfaction of craftsmanship earned through learning. When you sit back, feel the smooth armrests, and take in the view, you’ll know that every moment spent cutting, assembling, and sanding was worth it. Building an Adirondack chair may start as a beginner’s project, but it ends as something far more enduring—a handcrafted invitation to relax, reflect, and enjoy the outdoors. And that, more than anything, is what true craftsmanship is all about.